Infrastructure-as-Code (IaC) Tooling Comparison - Part 1
For years IT teams managed their data center infrastructure using a purely manual approach by physically setting up servers, installing and configuring the operating system. This process also included manually connecting the networks, middleware, and storage appliances.
Managing all this infrastructure is a tedious full-time job but this was improved with the adoption of technologies like virtualization. Virtualization enabled developers to provision their own infrastructure like containers and virtual machines whenever they needed.
With the emergence of public cloud providers like Google Cloud, Amazon AWS, and Microsoft Azure managing critical infrastructure has been revolutionized. Along with cloud technologies and the adoption of the devops approach to software development, IT teams have started making their job a bit easier by leveraging automation through scripts that provision, configure and manage the infrastructure.
This new process evolved into what we all know today as Infrastructure-as-Code or IaC, which is the automation of infrastructure provisioning and management using software development principles and practices. You manage your infrastructure through a high-level descriptive model and use the same version control methods as traditional software development code.
The idea behind IaC is to treat your infrastructure like software. Write code, test it, and execute it to provision, update, and delete the required infrastructure. This code, like traditional software code, can be changed, updated, and deployed through a continuous integration / continuous delivery (CI/CD) process.
What is Infrastructure-As-Code?
This statement may stir some arguments within the community but in my opinion there are two categories of tooling for infrastructure Configuration-As-Code (CaC) and Infrastructure-As-Code (IaC).
CaC tools are used to configure the software and systems on the infrastructure whereas IaC tools orchestrate the provisioning/creation of the infrastructure.
Some may interchangeably use CaC tools, like Ansible and Chef, to provision their infrastructure but they are not really meant for infrastructure orchestration. These tools are meant to work together, IaC tools for provisioning your infrastructure and CaC tools for configuring and managing your infrastructure.
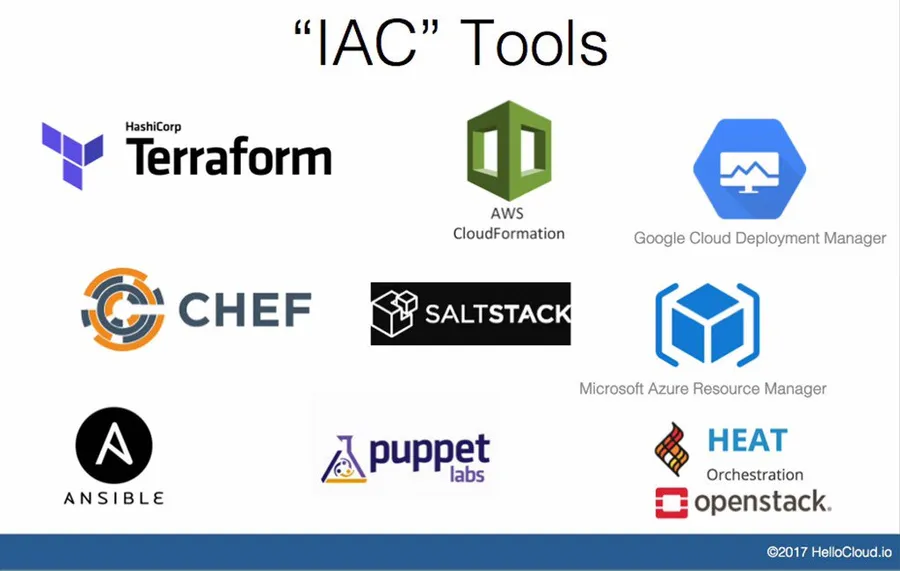
In this series of posts, I will be focusing on IaC or infrastructure orchestration tools and provide my opinion and recommendations on each. The tools I will be covering are:
- Terraform
- Terraform Cloud Development Kit (CDK)
- Azure Resource Manager (ARM)
- Azure Bicep
- CloudFormation
- AWS Cloud Development Kit (CDK)
- Cloud Deployment Manager
- Pulumi
In this first post I will be focusing on Terraform and Terraform CDK.
Terraform
Let’s start with the most popular and probably most used tool, Hashicorp’s Terraform. Terraform is an open-source infrastructure-as-code software that prides itself on being platform agnostic. This means you can use this tool to provision infrastructure in any public cloud as well as on-premise.
This platform independence is accomplished by the codification of each of the cloud providers APIs into what Hashicorp calls [terraform providers] (https://registry.terraform.io/browse/providers).
Terraform offers a very readable declarative language called HCL or Hashicorp Configuration Language, which uses JSON block notation for defining resources.
After installing the [terraform cli] (https://www.terraform.io/downloads.html), the following list are the basic commands needed to get started using terraform:
- terraform init
- initializes the cli and downloads the necessary providers
- configures the location for the state file, which keep your infrastructure in sync. Defaults to local state file.
- terrafrom plan
- processes the resources in the terraform template file and does a check against the terraform state file to see the difference between what is already running and what is new
- the changes (existing and new) resources are described in the output
- terraform apply
- runs the output of the plan command and provisions the changes to the specific environment.
Within the terraform template file you specify the provider block, as shown in the snippet below, this will indicate to the terraform cli to use the APIs for the specified provider.
# Specify the terraform provider
provider "aws" {
  region = "us-east-1"
}
The following snippet will provision a webserver in AWS Cloud.
terraform {
  required_version = ">= 0.12, <=0.15"
  required_providers {
      aws = {
          version = "~> 3.0",
          source="hashicorp/aws"
      }
  }
}

provider "aws" {
  region = "us-east-1"
}

// create micro ec2 instance
resource "aws_instance" "web_server" {
    // Amazon Machine Image ID of an Ubuntu 18.04 AMI  in us-east-1
    ami = "ami-09e67e426f25ce0d7"
    vpc_security_group_ids = [aws_security_group.web_server.id]
    // EC2 Instance to run
    instance_type = "t2.micro"
    user_data = <<-EOF
                #!/bin/bash
                echo "Hello, World" > index.html
                nohup busybox httpd -f -p 80 &
              EOF
    tags = {
        Name = "terraform-webserver-example"
    }
}

# Create security group with web and ssh access
resource "aws_security_group" "web_server" {
  name = "allow_web_traffic"

  ingress {
    protocol    = "tcp"
    from_port   = 80
    to_port     = 80
    cidr_blocks = ["0.0.0.0/0"]
  }

  egress {
    protocol    = "-1"
    from_port   = 0
    to_port     = 0
    cidr_blocks = ["0.0.0.0/0"]
  }
}

output "DNS" {
  value = aws_instance.web_server.public_dns
}
Remote State
Terraform tracks changes of the provisioned infrastructure in a state file. By default this is a local file terraform.tfstate within the same directory of the terraform template. To enable collaboration within a team remote backend states can be use to store and retrieve the state. This is specified in the backend block within the terraform template.
terraform {
  backend "s3" {
    # Replace this with your bucket name!
    bucket         = "terraform-up-and-running-state"
    key            = "global/s3/terraform.tfstate"
    region         = "us-east-2"
    # Replace this with your DynamoDB table name!
    dynamodb_table = "terraform-up-and-running-locks"
    encrypt        = true
  }
}
By specifying a remote state backend teams working on the same terraform code will have access to the same state so that there are no infrastructure drifts.
To see more examples of terraform in action as well as a multi-cloud sample that creates resources in AWS and GCP in one terraform template file please visit my [github repo] (https://github.com/DavidDTessier/iac-tools-samples/tree/main/terraform).
Also, for more details on terraform visit the official documentation.
Terraform CDK
Up next is a new addition to the IaC tools world, it’s Terraform CDK (Cloud Development Kit) and is currently (as of this writing) in BETA at version 0.3.0.
Historical developers, as noted in the previous section, would write terraform configurations using the JSON notation
Terrafrom CDK, built off a collaboration from Hashicorp and the AWS CDK development teams, allows developers to use familiar programming languages such as Python, Typescript, and C# to define cloud infrastructure and provision it through Terraform.
Using key technologies from the AWS CDK, the CDK construct programming model, and the javascript interoperability interface, or jsii, CDK for Terraform will generate terraform configuration files.
To get started using the CDK (after [installing the cli] (https://learn.hashicorp.com/tutorials/terraform/cdktf-install)) you can initialize a project using the templates for the particular supported language you are interested in. The following command initializes a Terraform CDK project using typescript with the state being stored locally:
cdktf init --template typescript --local
Once the project is created the main.ts file will look something like this:
import { Construct } from 'constructs';
import { App, TerraformStack, Token } from 'cdktf';

class MyStack extends TerraformStack {
 constructor(scope: Construct, name: string) {
   super(scope, name);

   # Resources are defined here
 }
}

const app = new App();
new MyStack(app, 'demo');
app.synth();
Building on the examples from traditional terraform below is an example of how to provision a simple webserver using AWS EC2 instances.
import { Construct } from 'constructs';
import { App, TerraformOutput, TerraformStack, Token } from 'cdktf';
import { AwsProvider, Instance, SecurityGroup } from './.gen/providers/aws'

class MyStack extends TerraformStack {
  constructor(scope: Construct, name: string) {
    super(scope, name);

    let instanceUserData = '#!/bin/bash\r\n' +
    'echo "Hello, World From Typescript for Terraform CDK!" > index.html\r\n'+
    'nohup busybox httpd -f -p 80 &\r\n'

    new AwsProvider(this, "aws", {
      region: "us-east-1"
    })

    const secGroup = new SecurityGroup(this, 'web_server', {
      name: 'allow_web_traffic',
      ingress: [{
        protocol : 'tcp',
        fromPort : 80,
        toPort : 80,
        cidrBlocks : ["0.0.0.0/0"]
      }],
      egress : [{
        protocol: '-1',
        fromPort : 0,
        toPort: 0,
        cidrBlocks: ["0.0.0.0/0"]
      }]
    })

    const instance = new Instance(this, 'web_sever', {
      ami: 'ami-09e67e426f25ce0d7',
      instanceType: 't2.micro',
      vpcSecurityGroupIds: [Token.asString(secGroup.id)],
      userData: instanceUserData,
      tags: {
        Name: 'Terraform-CDK WebServer'
      },
    })

    new TerraformOutput(this, 'public_dns', {
      value: instance.publicDns,
    })

  }
}

const app = new App();
new MyStack(app, 'typescript-aws');
app.synth();
In order to leverage the CDK Constructs for the providers you add the required providers to the cdktf.json file as shown below:
{
  "language": "typescript",
  "app": "npm run --silent compile && node main.js",
  "terraformProviders": [
    "aws@~>2.0"
  ],
  "terraformModules": [],
  "context": {
    "excludeStackIdFromLogicalIds": "true",
    "allowSepCharsInLogicalIds": "true"
  }
}
Once those are added you can call the cdktf get command to download the provider(s) details.
Once you are ready to deploy your stack, a collection of infrastructure which will be synthesized as a dedicated Terraform configuration, you can run cdktf deploy.
The cdktf deploy command will synthesize the code into a terraform configuration (json) and use underlying terraform cli commands (plan and apply) to provision the infrastructure.
Alternatively, you can use the cdktf synth command to generate terraform json configurations and then run terraform cli commands to provision the infrastructure.
To tear down the infrastructure your run cdktf destroy which is the equivalent of running terraform destroy.
Comparing the above snippet with the traditional HCL terraform snippet in the previous section you can see they are roughly the same number of lines of code. Terraform CDK is ideal for developers who are familiar with languages such as python and typescript, which allows them to collaborate on the infrastructure provisioning code without having to learn HCL.
For developers familiar with AWS CDK there is not as much of a learning curve to get started using the Terraform CDK, however those that aren’t it’s a bit of a climb.
Currently the library is not as well-documented as traditional terraform, so you have to search through Hashicorp’s github repo to find what you are looking for and even then, is a bit disparate.
It also suffers from limitations and kinks that always appear in Beta releases of any tool.
To find the sample used in this post and additional samples using Terraform CDK in various programming languages please visit my github repo.
Overall thoughts on the above two tools, I will be sticking with traditional HCL terraform as it’s more established and mature. However, I will continue to play around with CDK with hopes that by the time a v1 goes to GA it would have ironed out their issues enough that I can migrate production workloads to it.
In part 2 of this series, I will be focusing the Cloud provider specific tools Azure ARM, GCP’s Cloud Deployment Manager, and AWS’s CloudFormation.
Stay Tuned…